Recipes · Baking · Drinks
Recipes from the Country Kitchen honest, simple and seasonal
Only recipes I actually cook end up here. No food-styling dreams, no ingredients you have to order three times over. Instead: the lemon cake that turns up at every visit, the lavender syrup I simmer every July, the strawberry cake that tastes of summer. Cooking with the seasons, with whatever is in bloom, with whatever the terrace has to offer.
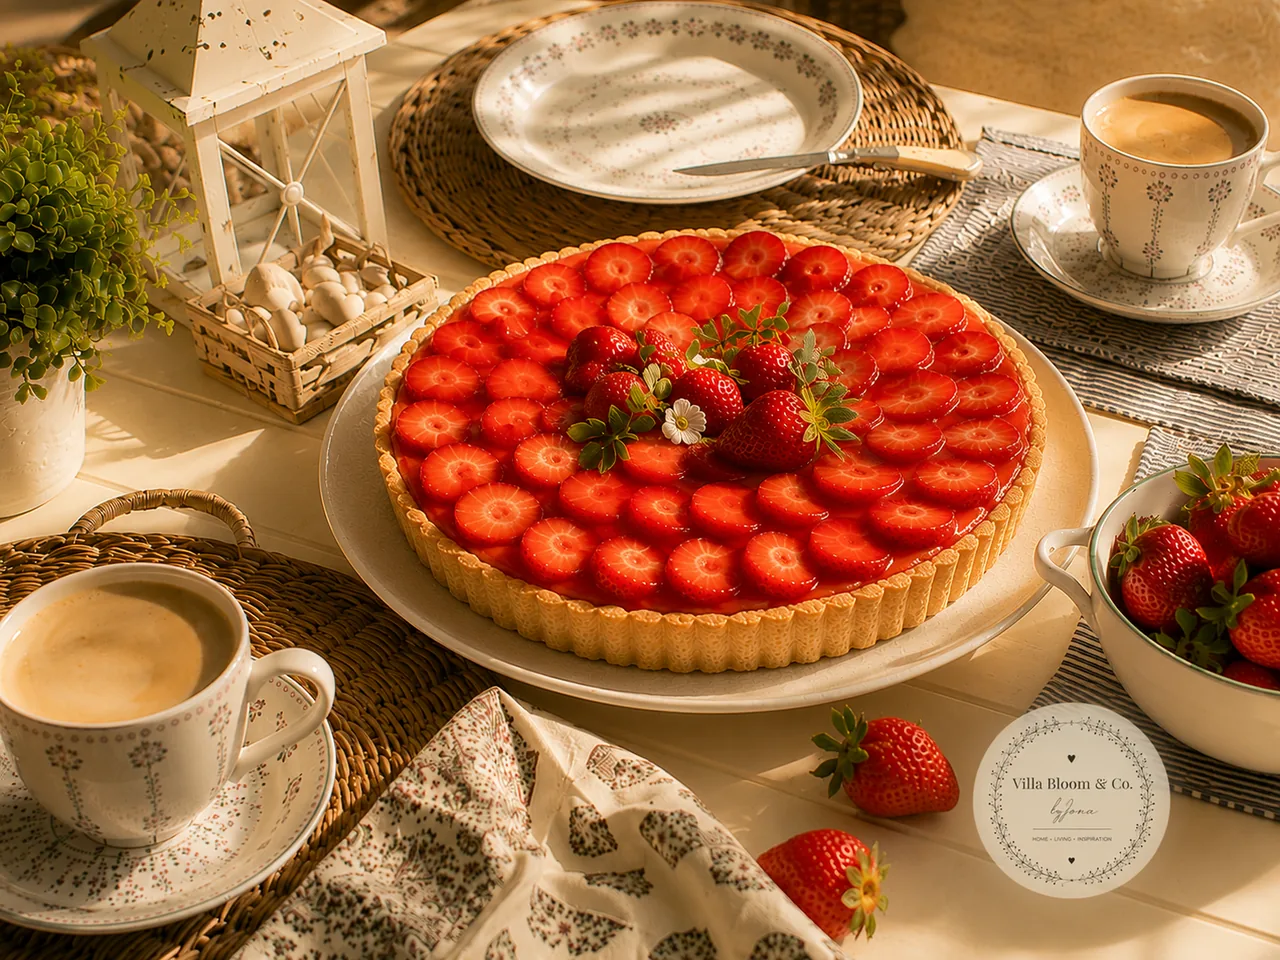
Strawberry Cake on the Terrace
Read more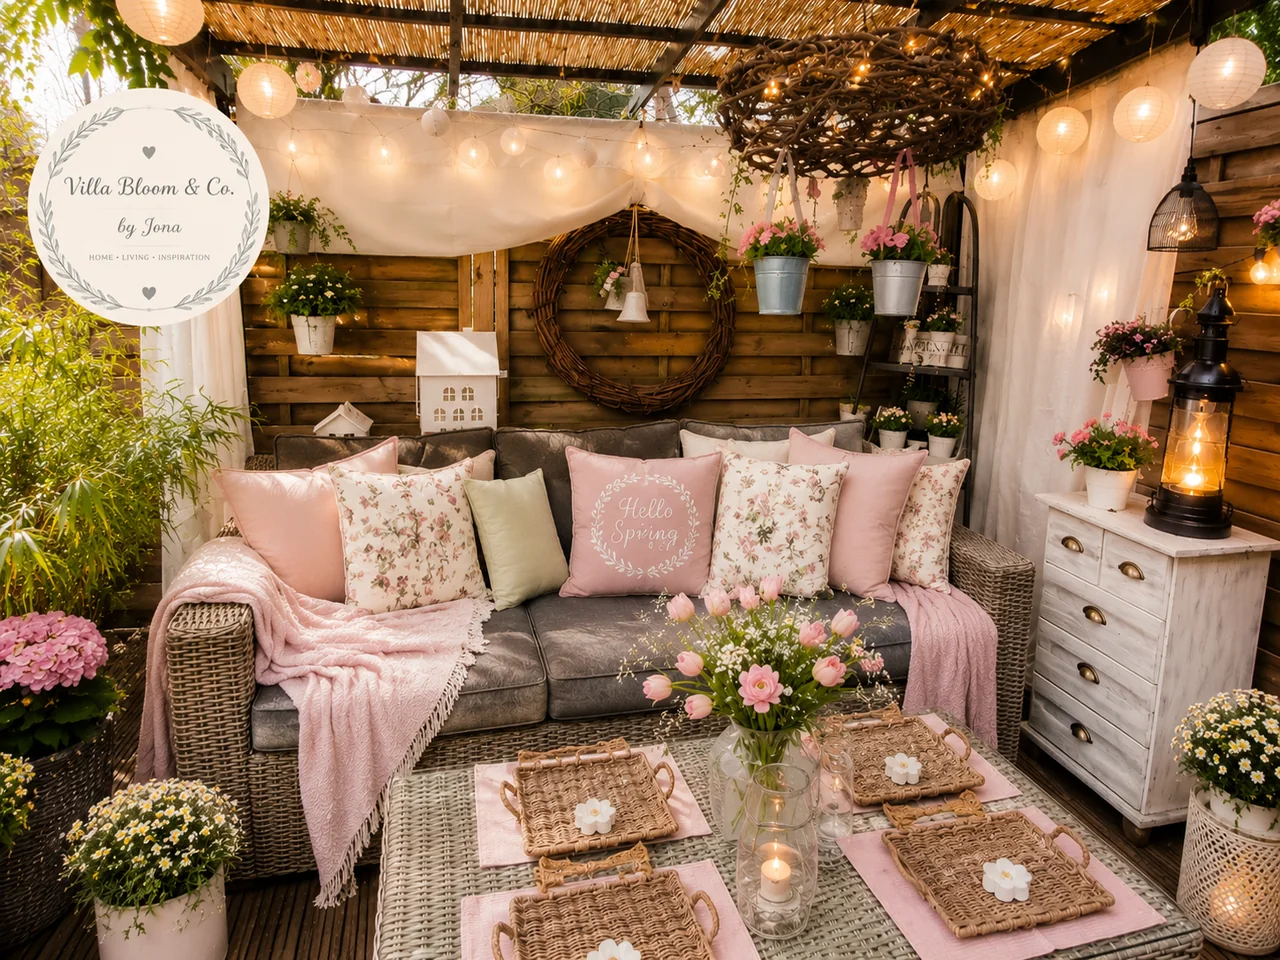
Lemon Cake
Read moreMake Your Own Lavender Syrup
Read more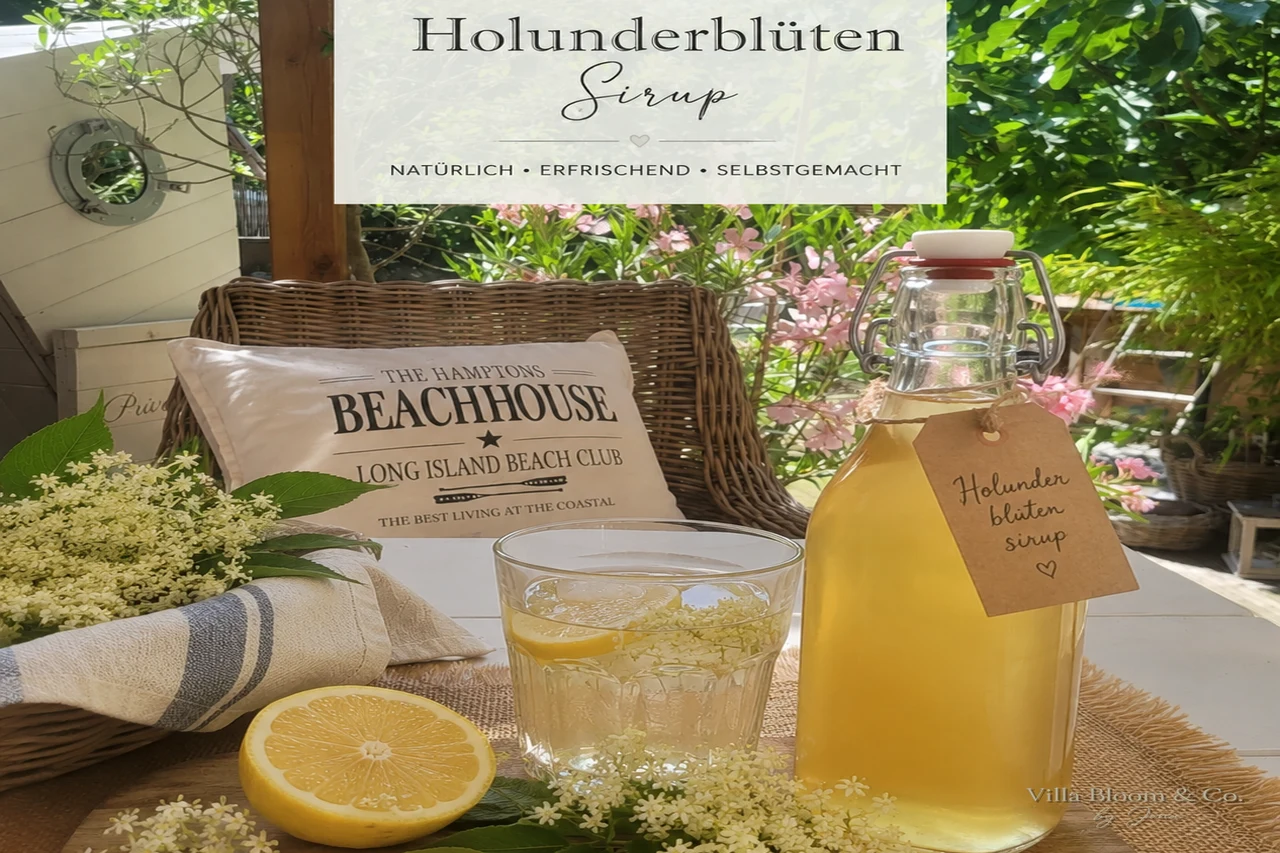
Elderflower Syrup
Read more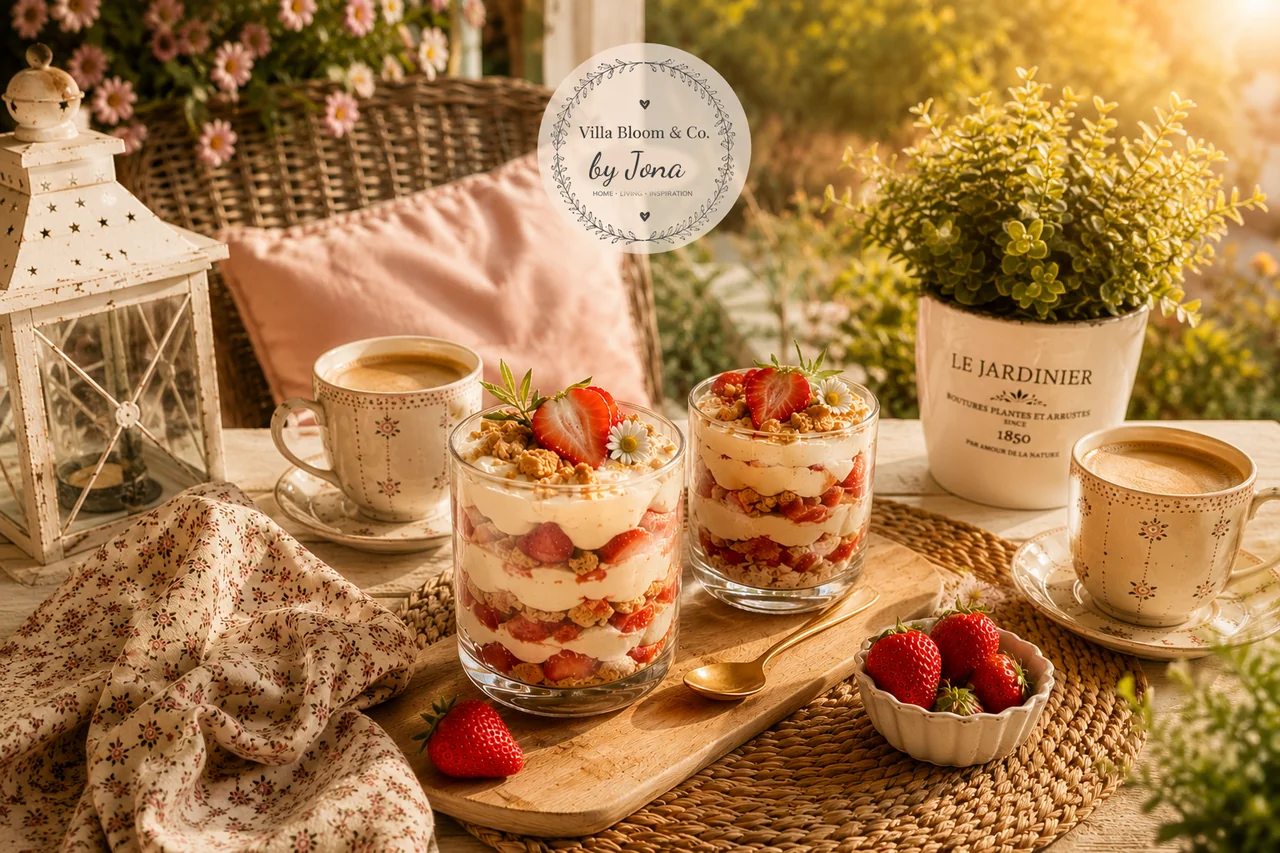
No-Bake Strawberry Dessert in a Glass
Read more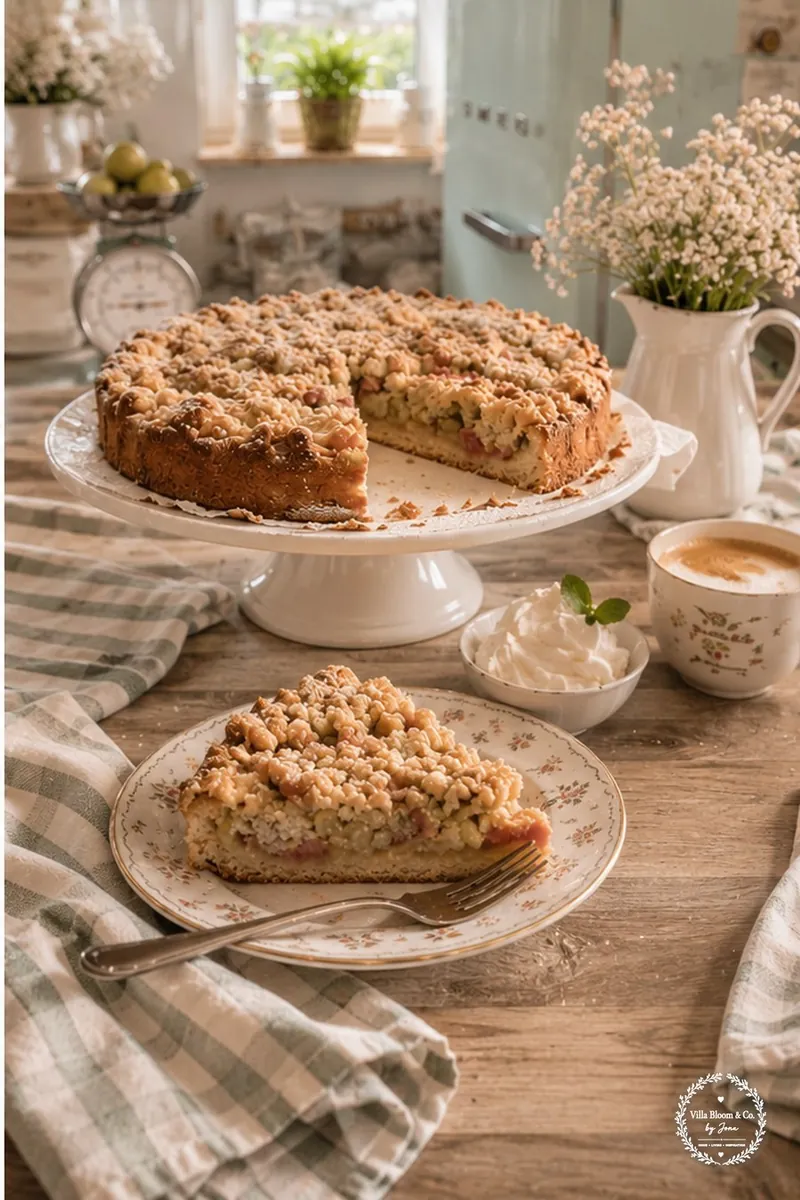
Rhubarb Crumble Cake with Almonds
Read more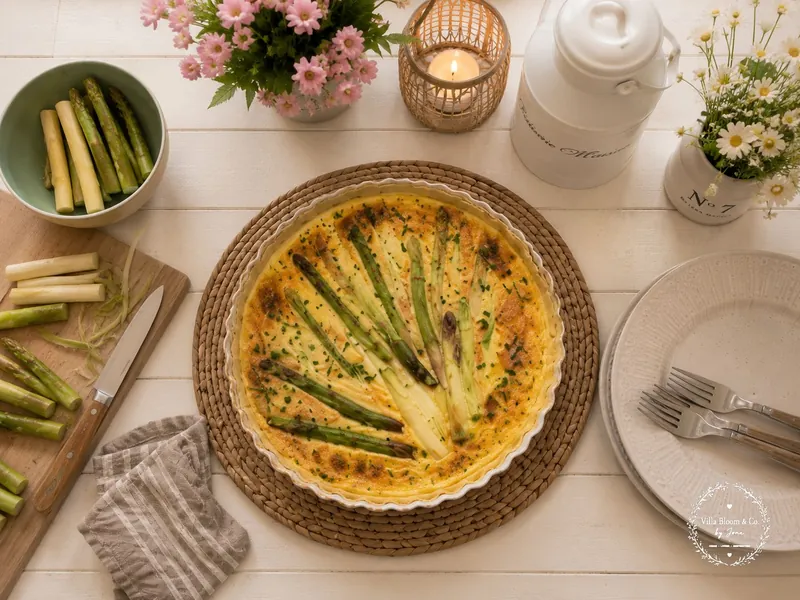
Asparagus Quiche with Fresh Herbs
Read more
Strawberry-Rhubarb Tart
Read more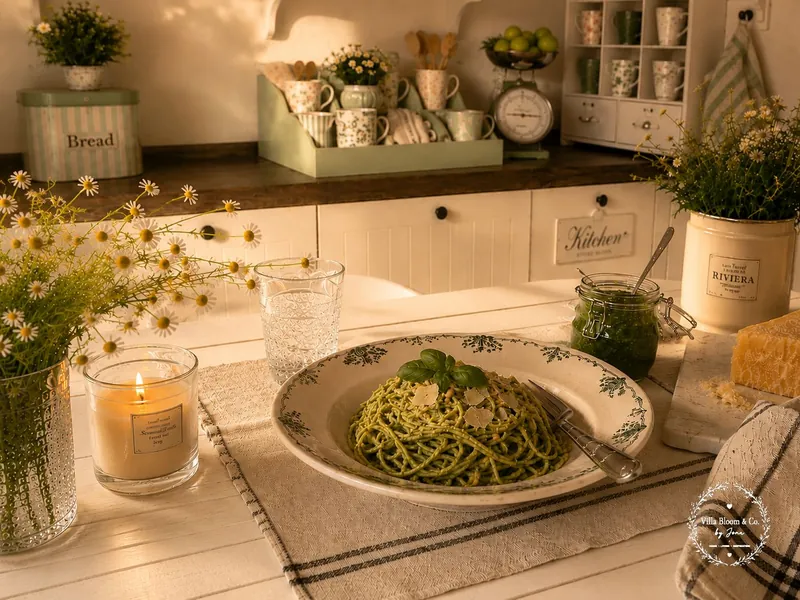
Wild Garlic Pesto
Read more